The Gemini SP is one of my favorite boats to paddle. It’s not fast, but it’s playful and very stable in rough conditions. Mine is rotomolded plastic and it’s survived several trips to Maine, and for years it’s been my teaching boat.
One of the repairs I’d been meaning to make on the Gemini is to the backband. I couldn’t seem to get it to stay tight, until one day – a couple of years ago, mind you – I noticed that the stitching on the sleeve where the backband passes through was coming loose on one end.
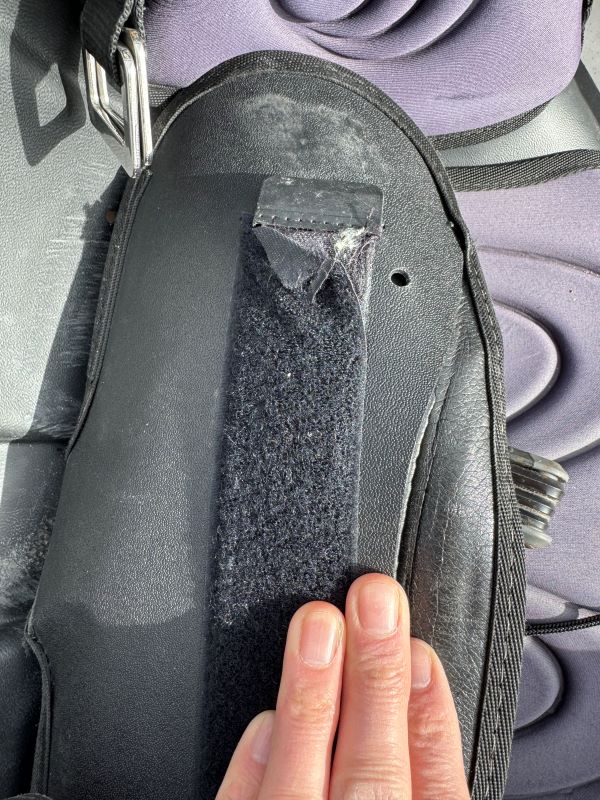
The result was that the left side of the back support would never be snug, and it tended to skew to the right. It wasn’t un-paddleable and wasn’t entirely uncomfortable, but it bothered me enough that I bought a replacement backband.
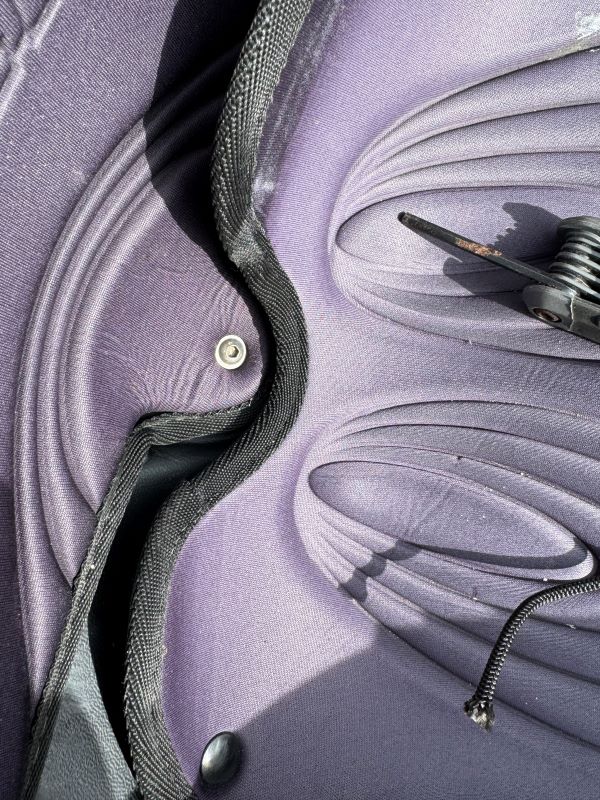
How hard could this be? There was just one bolt fixing it to the seat pan, with the back strap passing through.
After poking around at it the day before, I came to a discouraging conclusion: the bolt I’ll refer to as the “troublesome bolt” was turning freely and therefore not releasing. I’d have to find a way to hold still whatever it screwed into. That meant removing the entire seat.
Fortunately, I’ve done this before. I wrote about it too, though I haven’t ported that to the new site. Here’s the post on the old site. Thus, I had an idea of how much a chore this would be; I wish I’d read that post ahead of time, but it wasn’t critical. I had an idea of how it worked.
To remove the seat from the boat there are four bolts, two on each side; think of the seat as a short, broad “U” that undermounts to the deck of the boat. There’s bungie holding the backband back but that’s negligible to remove. Remove the bolts and slide the seat out.
The trick is on reassembly. The bolts screw into metal plates below the deck, in a place you cannot see and where you probably can’t reach your hands. More about that later.
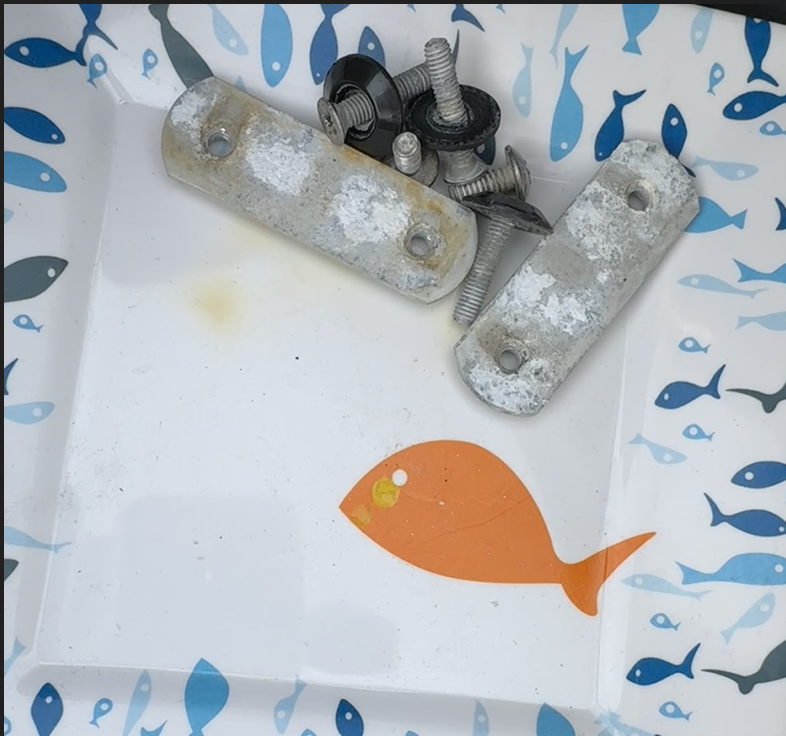
With the seat and hardware out, I was able to see how much salt and dirt had caked up. Even though I haven’t paddled this boat in months, there was plenty of material. I wish I’d been prepared for a better cleaning, but I did my best with water and rags. I soaked the plates in water and then scraped off the accumulated salt.
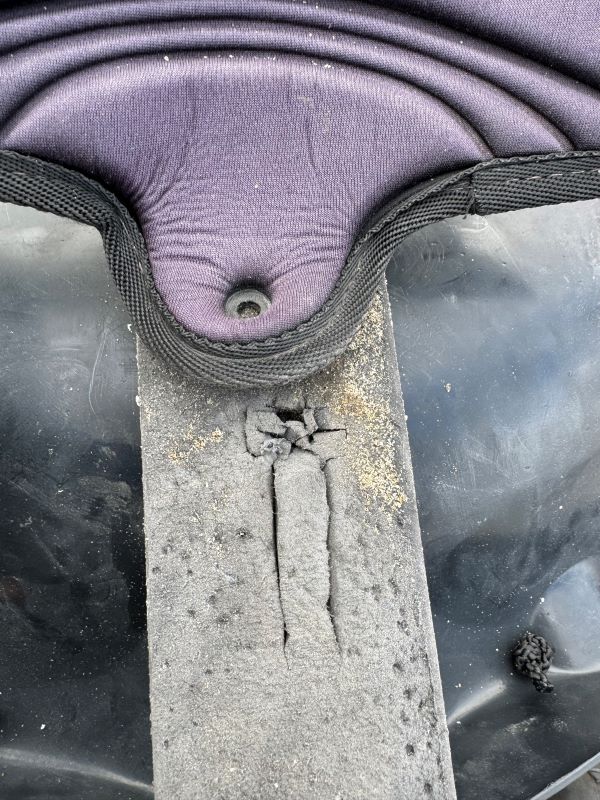
The next trick was accessing the nut that the troublesome bolt screwed into. It was buried under a couple of inches of closed-cell foam that the seat rests on. Apparently, when I did this before I just kinda scraped the foam open, but this time, I used a sharp knife to cut a flap (from the bottom) and a slot (from the side) to get some needlenose pliers into.
It was hard to get a grip and turn the driver; ultimately it was better with a second person. Did I mention repairs are easier with friends? They are!
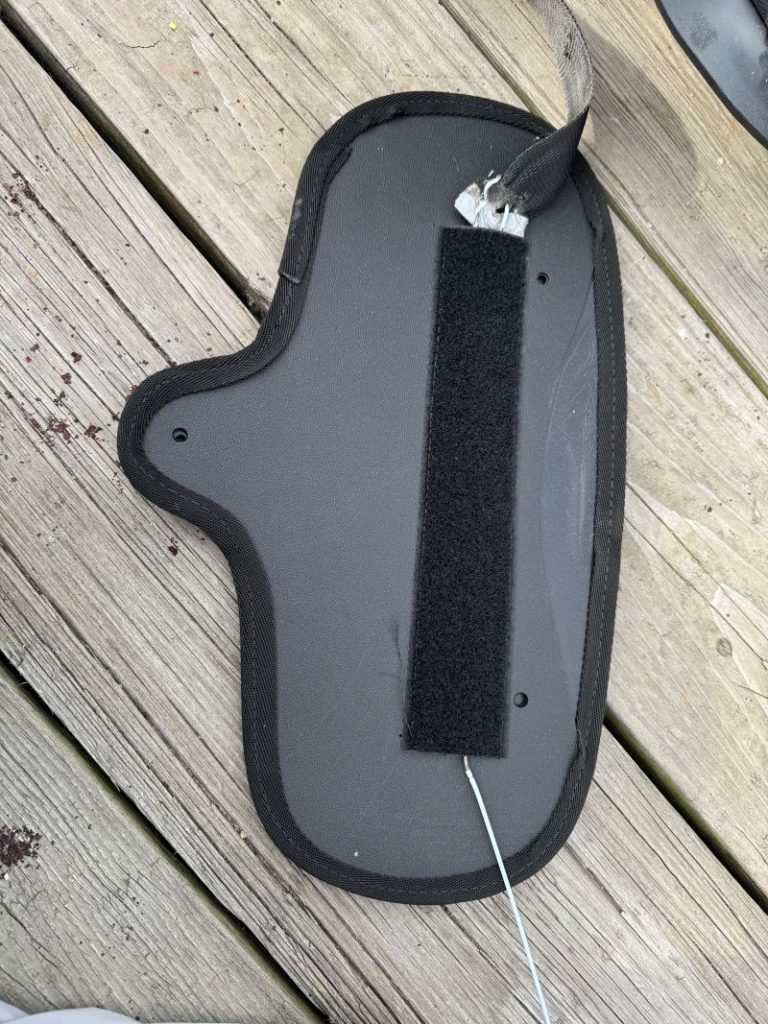
Once we got the troublesome bolt removed, I just had to rethread the backband through the sleeve on the new back support. The end was too thick – capped with a plastic stopper – but I pulled through the other end after removing it from the side of the boat. How to pull it through? A wire hanger, which is joining my repair kit.
That’s some duct tape on the end of the strap, to reinforce where it’s a bit frayed from the load which instigated the previous repair.
Great. At this point I had the back strap through the back band, and with a little help I got the troublesome bolt back on as well. It was time to put the seat back in the boat. Remember what I said about that earlier?
Last time, I tediously balanced the plate on two fingers, dropping several times, for each side of the boat. Newly empowered with my wire hanger, I rigged an improvised support to hang it loosely and prevent it from falling under the seat. This worked well for the right side of the boat.
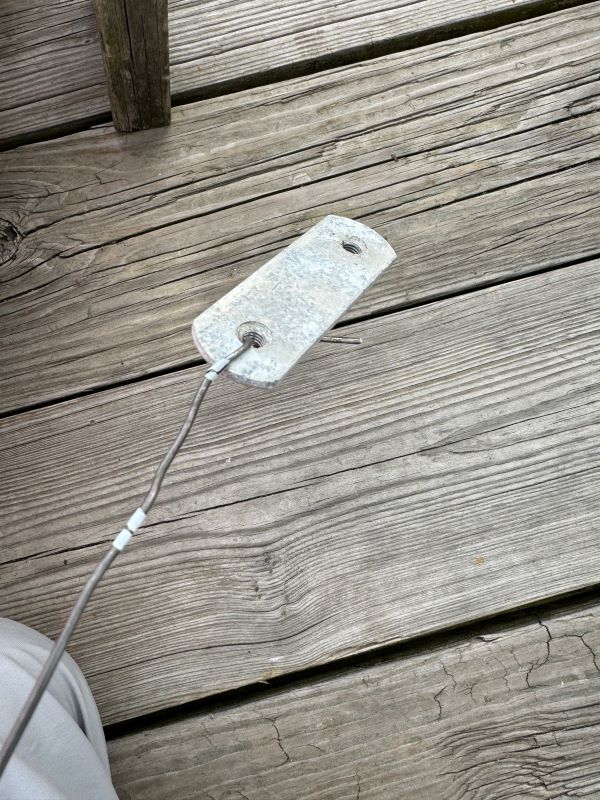
On the left side I had more difficulty. I could get the plate and bolt lined up, but they kept veering at an angle; I suspect the plate was hitting the skeg cable conduit.
This is where having a friend with small hands was tremendously fortuitous. FH was able to reach her hands in where my lobster-mitt paws could not, holding the plate in place and giving me feedback on when the bolt bit.
So that’s that. The seat backband on the Gemini SP is replaced; I also cleaned the foot pegs, which were a bit sticky. I still want to secure some new hatch covers with line and secure the skeg cable conduit so that it doesn’t flex. Those should be pretty easy compared to this, and I look forward to paddling the Gemini this season.
Comments