I had a short list of repairs to make to the Argonaut recently. One of them was the skeg.
The skeg is a retractable fin that helps steady the boat in wind. People debate the merits of skegs,and rudders, but I for one have found the skeg useful – when it works.
Familiar readers will realize this is the second time I’ve made this repair. What happened this time was, one day I put the boat in aft-first. When I pulled it out the next week, I inadvertently dragged the control knob against one of the rack columns, fully extending the skeg before I dragged it on the floor. The result was exactly the same problem I had before: the cable was bent.
The good news is, since I’d done this before, with the help of a friend, I knew exactly what I needed to do: I had to remove the cable, cut a new cable to fit, and then put the new cable in.
I started by removing the cable.
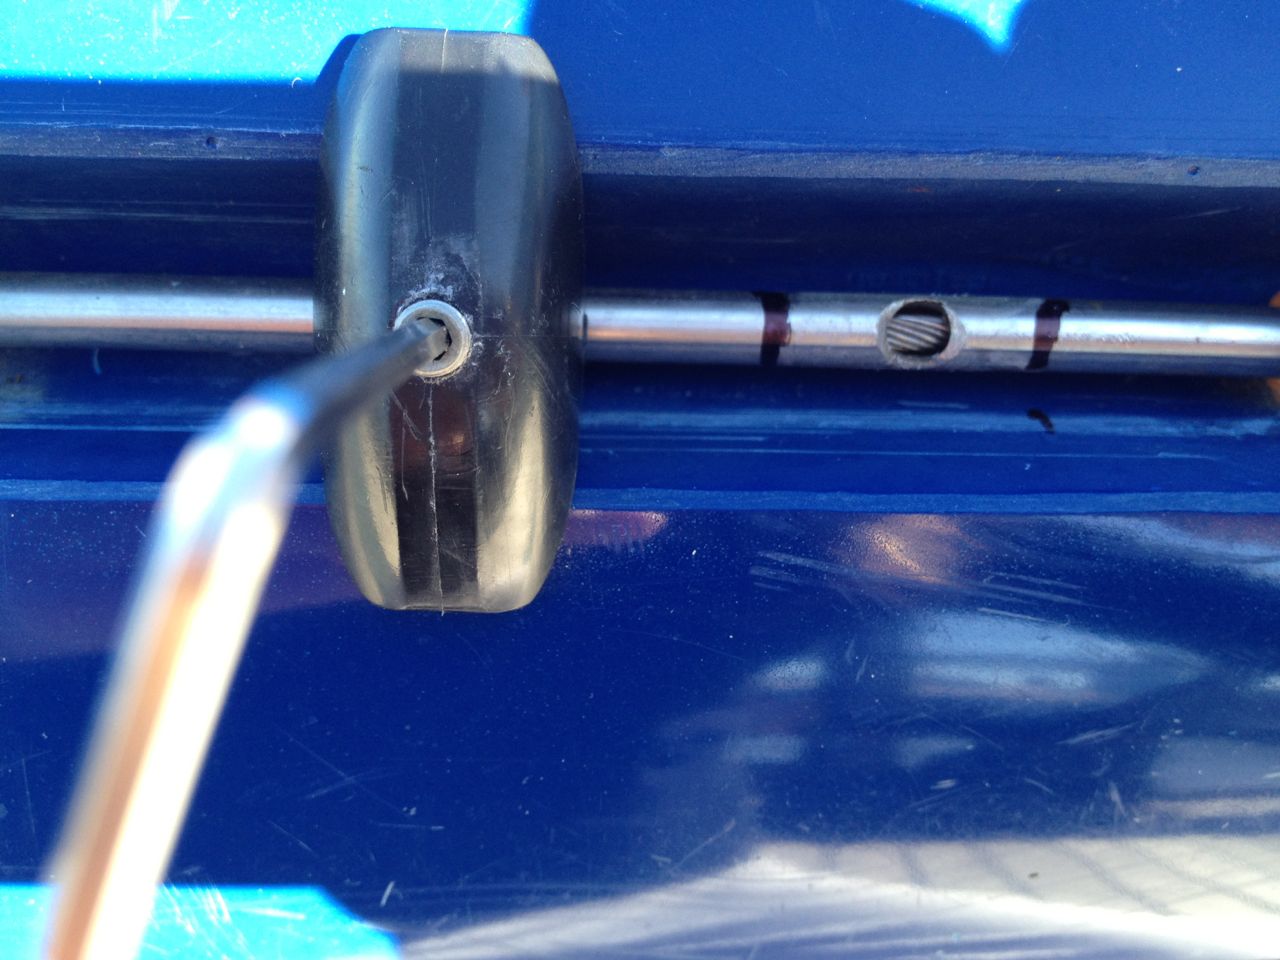
To do this, I started by loosening the control knob up front. On Valley and Impex boats, there’s a small allen screw inside the knob. Once loose, the knob no longer moves the cable – and the cable can be pulled free.

Once the knob is loose, you can see how the mechanism works. The knob does not slide along the tube. The allen screw goes through a little hole in the tube and presses directly on the cable. The tube actually moves with the cable – which means you need to know where it needs to be when the skeg is fully up or down. Hence, the Sharpie marks on the rub outlining where the knob goes.
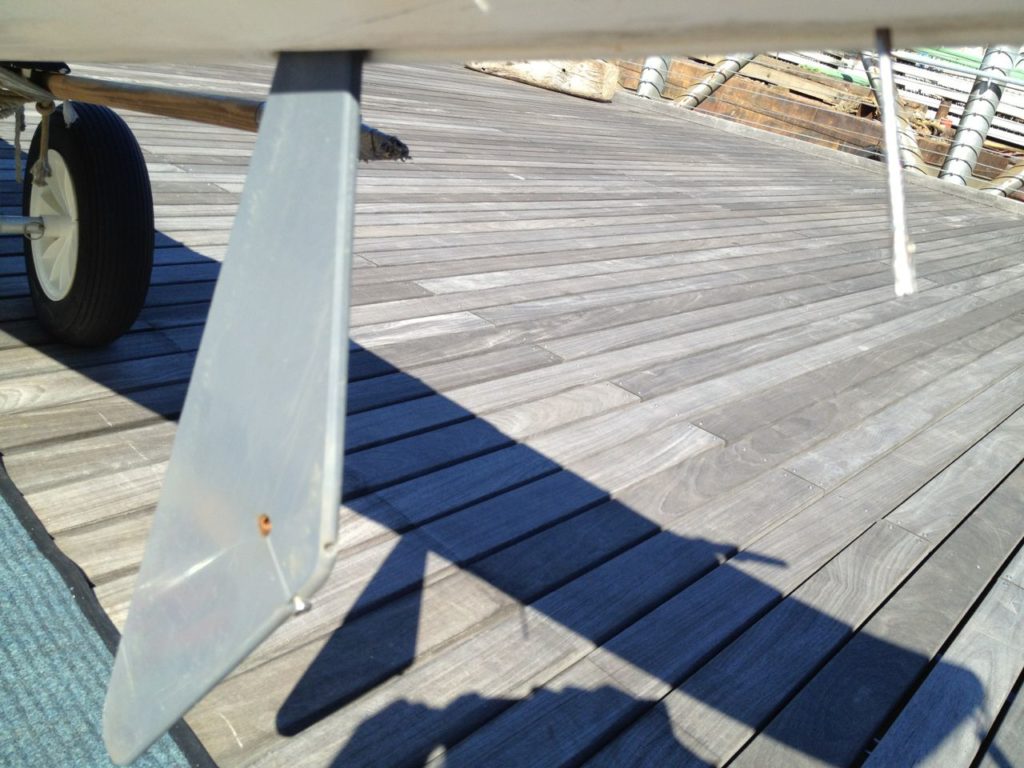
At this point I could pull the skeg all the way down, and disconnect the cable from the skeg itself.
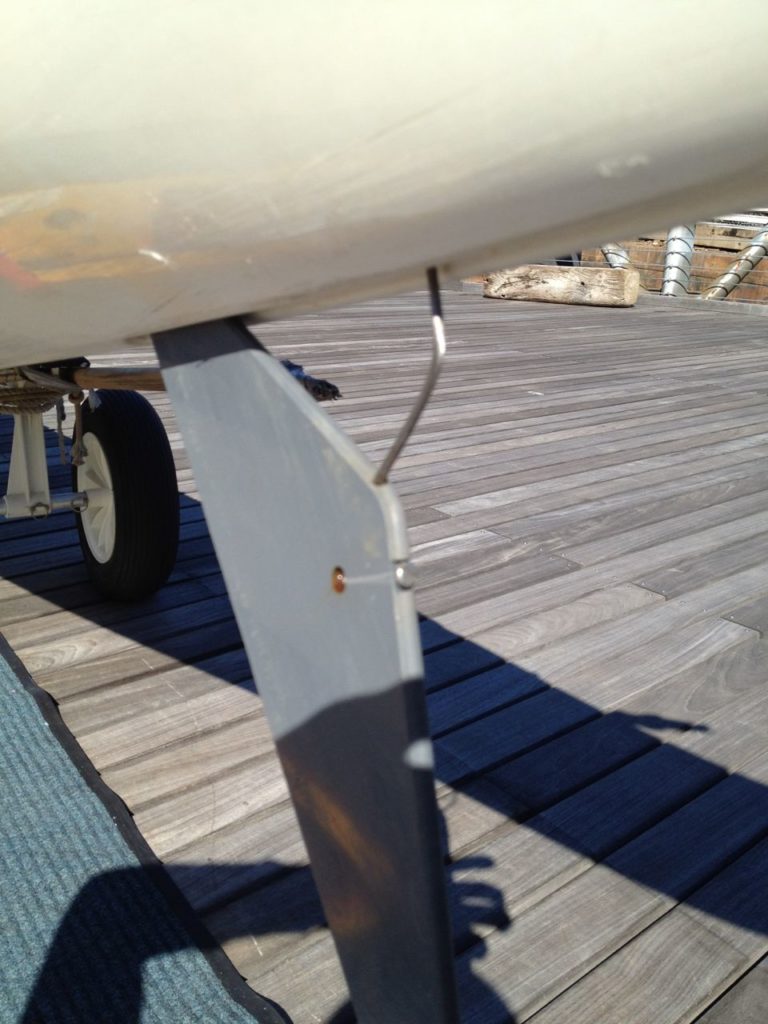
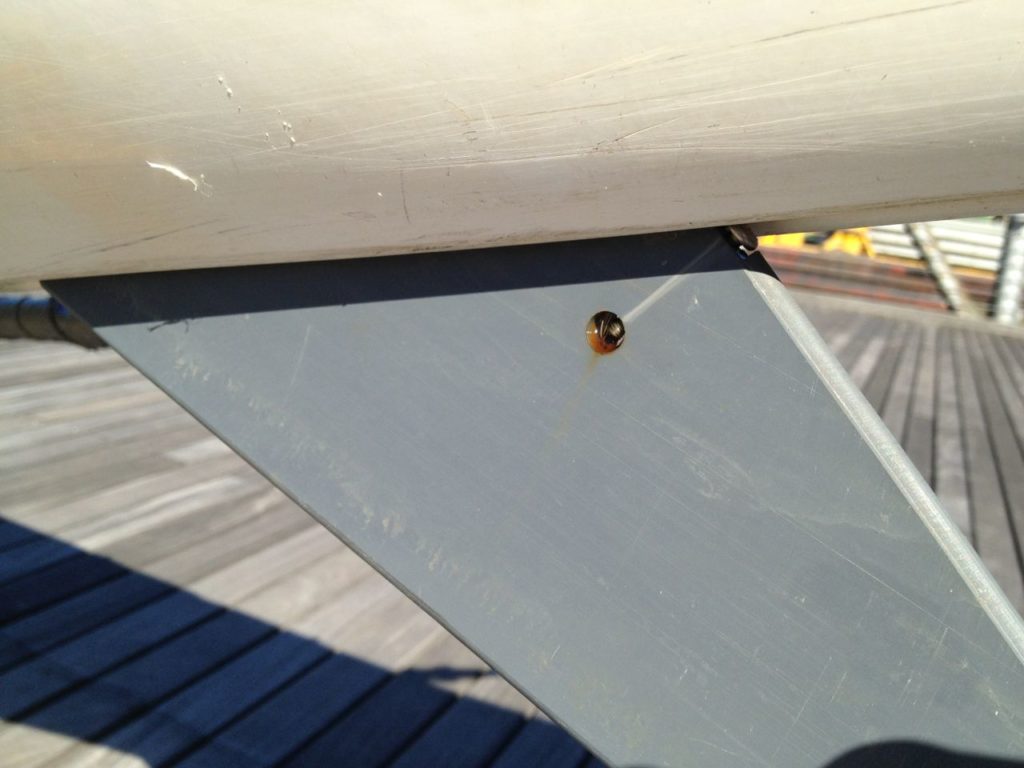
Here the skeg is ready to be detached. What I don’t capture in photos is that the front corner actually hooks on to a round bar in the hull, and that is what it swings on. Yhe steel braid cable just pushes and pulls.
The cable threads through the top edge of the skeg, and is then secured by a screw coming in the back edge. At this point I just had to loosen the screw and pull the cable free.
Not pictured: cutting the replacement cable to fit. While I ordered a cable specific for Valley boats, I think it’s a generic cable that has to be cut to fit. I compared it against the old, but given the kink, I made my best guess, and ended up having to cut another inch off later, after I’d threaded it through and attached it to the knob and skeg.
he first time I did this I had a grinder, or some kind of power saw that just went right through the braided cable. Someone seems to have borrowed that tool, so I used a hacksaw, sawing away at the cable as it was held in a vise. then, I used a a grindstone to bevel it out. You don’t want any loose threads going in.
UPDATE: later bought a purpose-specific hand tool for cutting threaded steel cables. Look under bicycle repair tools if you can’t find one. Cyclists use them for brake cables.

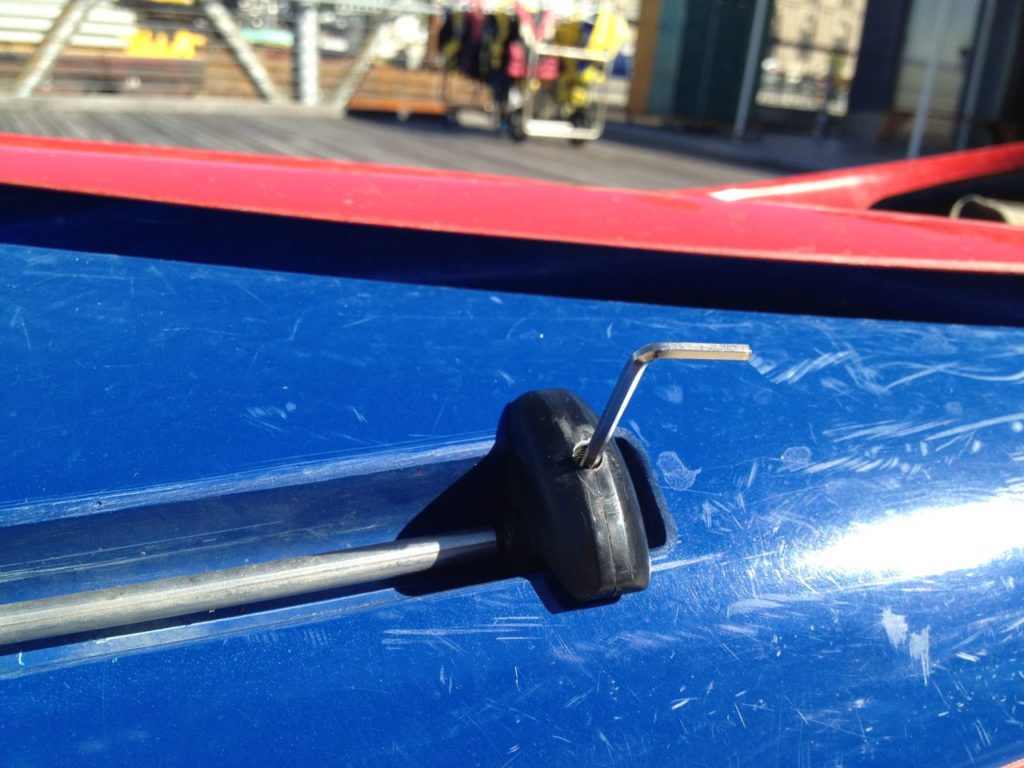
Attaching isn’t too tricky, but it does require some patience. I had to twist the cable a bit to coax it through. Also, as you can see above, the collar came loose, and I had to line it up as well.
Once lined up, the cable is attached to the skeg and fully extended. The cable goes through the collar (the tube) and the knob locks down on the cable again. Then, move the knob forward, and the skeg should come up. If the cable is too far forward, it won’t come all the way up, and you’ll need to adjust – like I said, I ended up have to cut cable twice.
Shazam. Working skeg. Now it’s too bad I didn’t have my boat out for the adventure the folowing day – but that’s a different story.
BONUS ROUND – Bungie replacement.
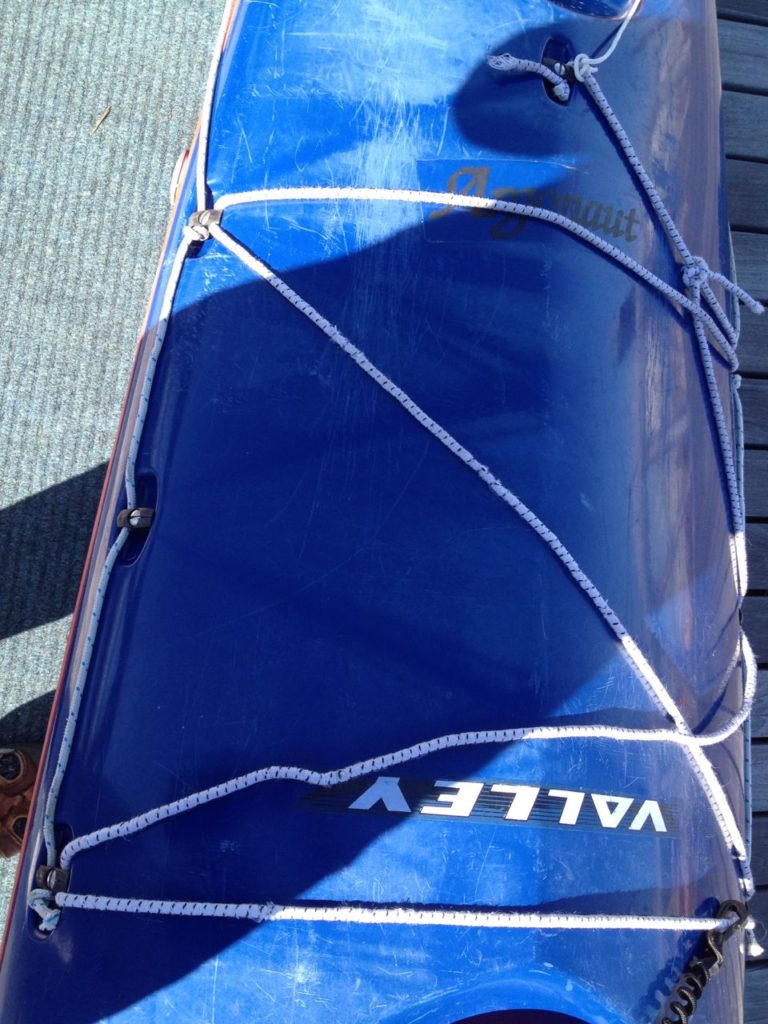
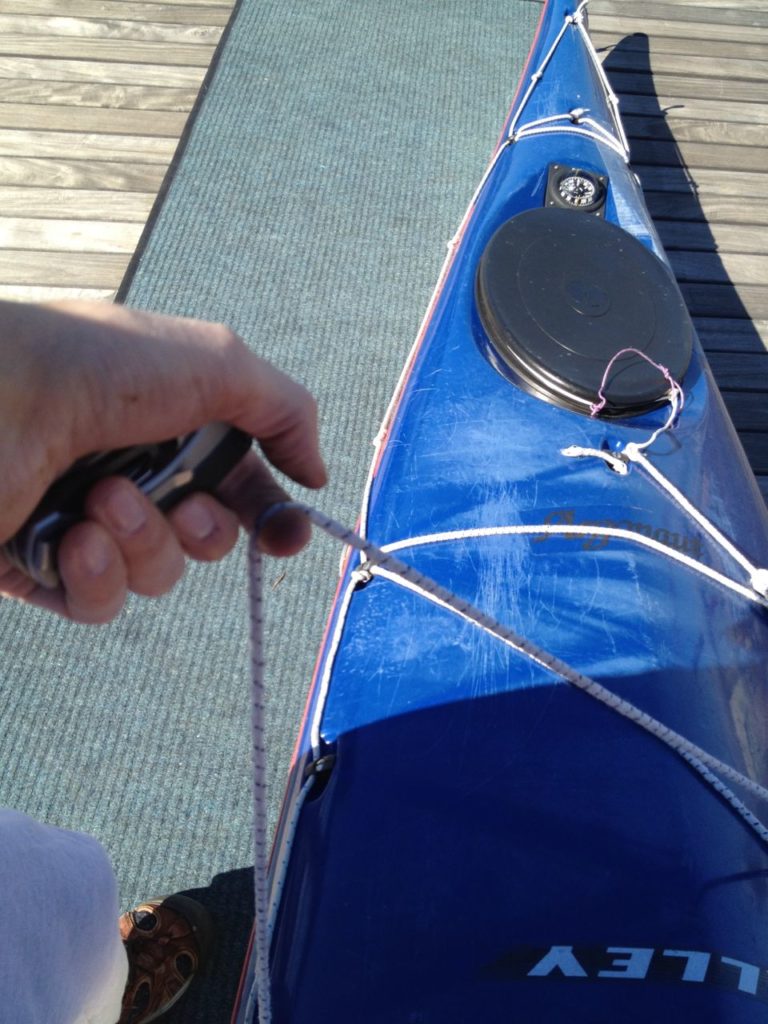
Somehow I only managed to take pictures of the bad bungie. The bungie lines on my boat – used to secure equipment – were old and loose. I replaced them with new. This requires threading bungie through removable things (hawsers? hooks? I don’t know what they’re called).
A friend had given me 1/4″ bungie that worked OK, but it was a bit tight, so I ordered 3/16″ bungie, and that worked much better.
Comments