I got a good deal on a boat recently: a Valley Pintail, fiberglass, red on white layup, great shape cosmetics-wise. This is a classic Valley boat; they don’t make ’em anymore. It edges brilliantly, dropping on its side to change from a needle to a dime. I knew as soon as I saw it that it would one day be mine.
The trick is, I got a good deal in part because of a seat repair I’m going to have to do. Fixing the seat on my plastic Gemini SP was easier: remove the old seat, and then replace it. On these boats – older fiberglass Valleys – the seat is integrated with the coaming, fiberglass with gel, like the rest of the boat. Here are the preliminary pix.
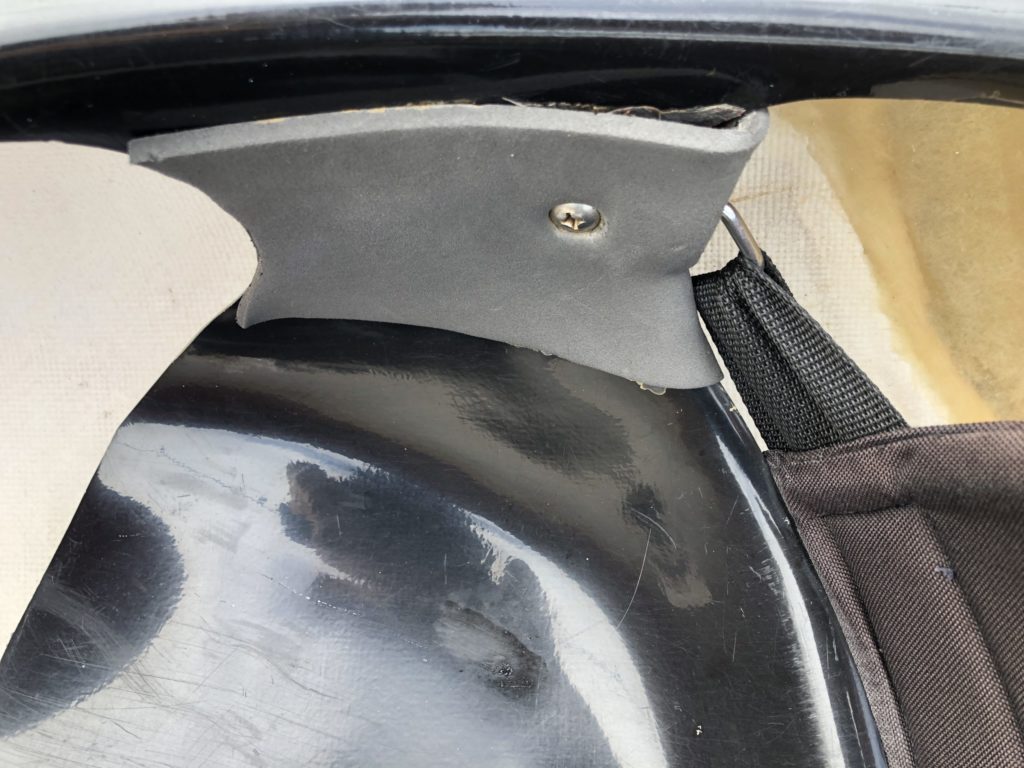
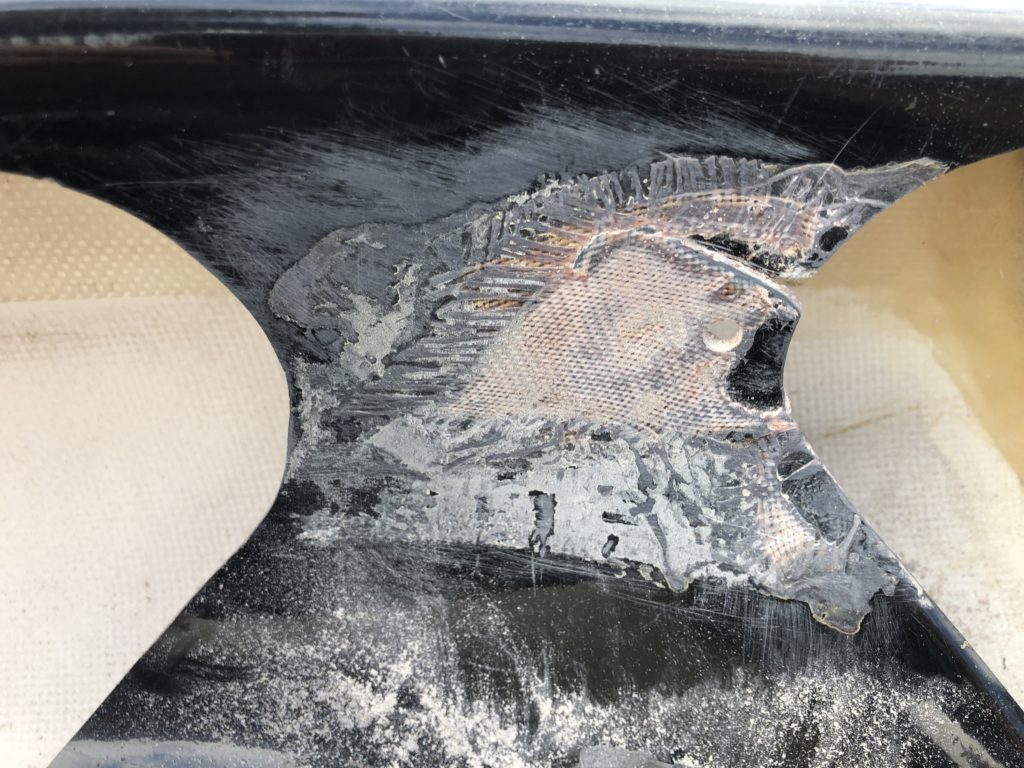
I noticed a bit more flex than one would expect; I also wanted to inspect the backband. To do this, I had to peel back the hip padding.
Hmm, well, this doesn’t look right.
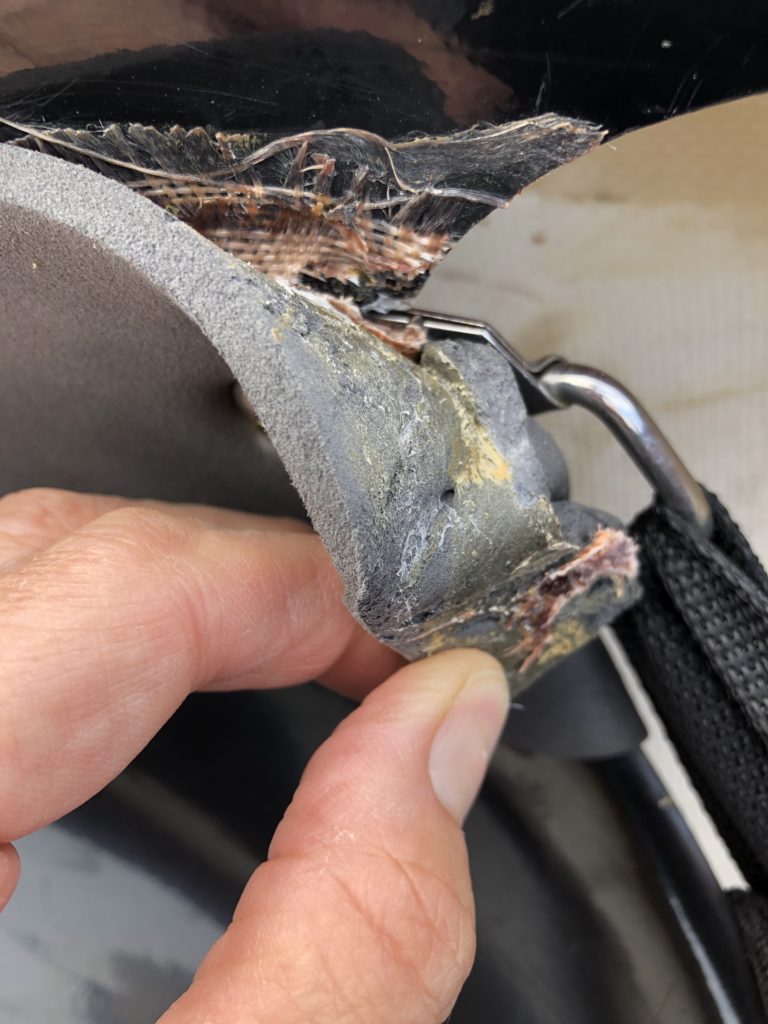
Nope, definitely not supposed to look like that.
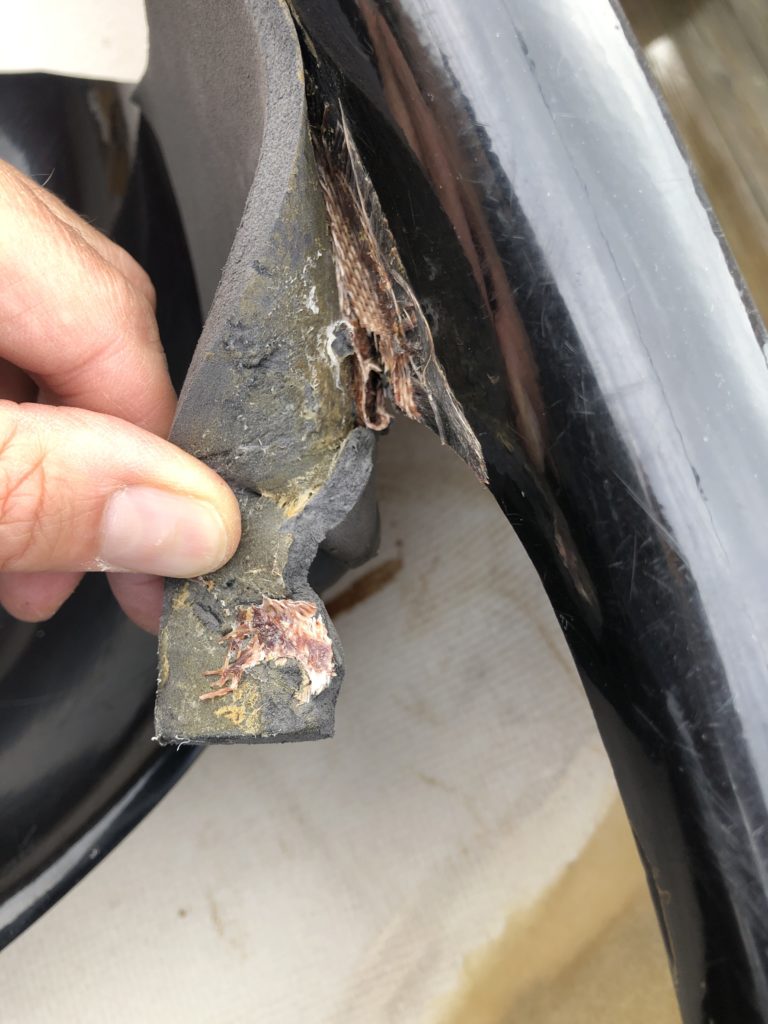
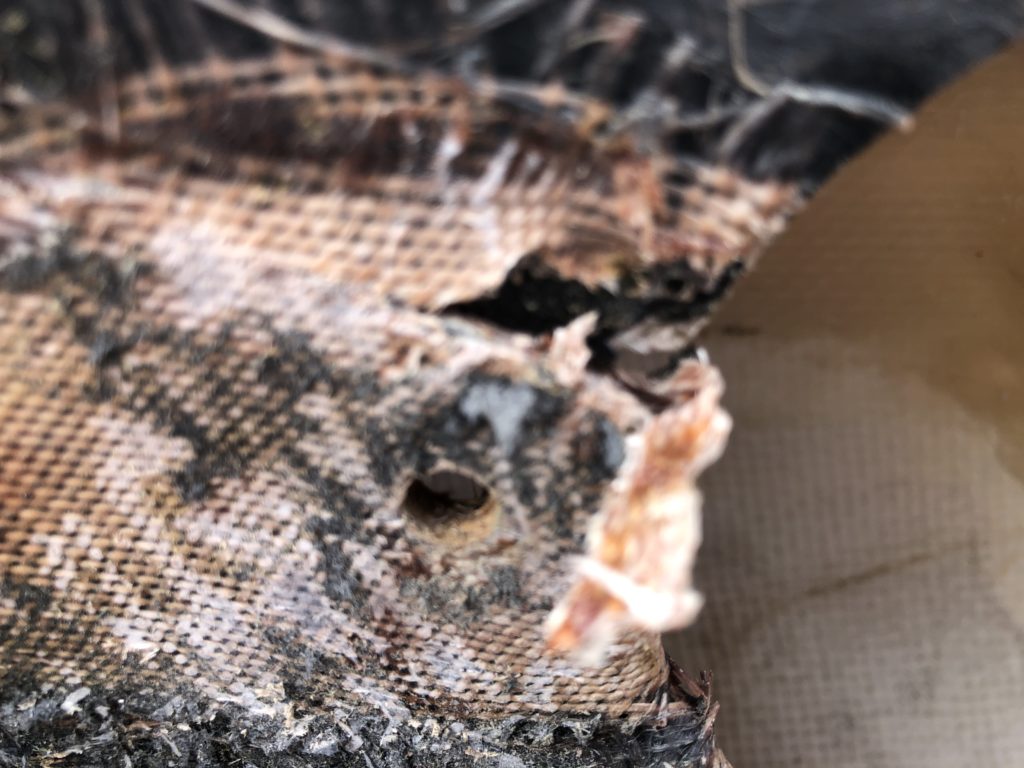
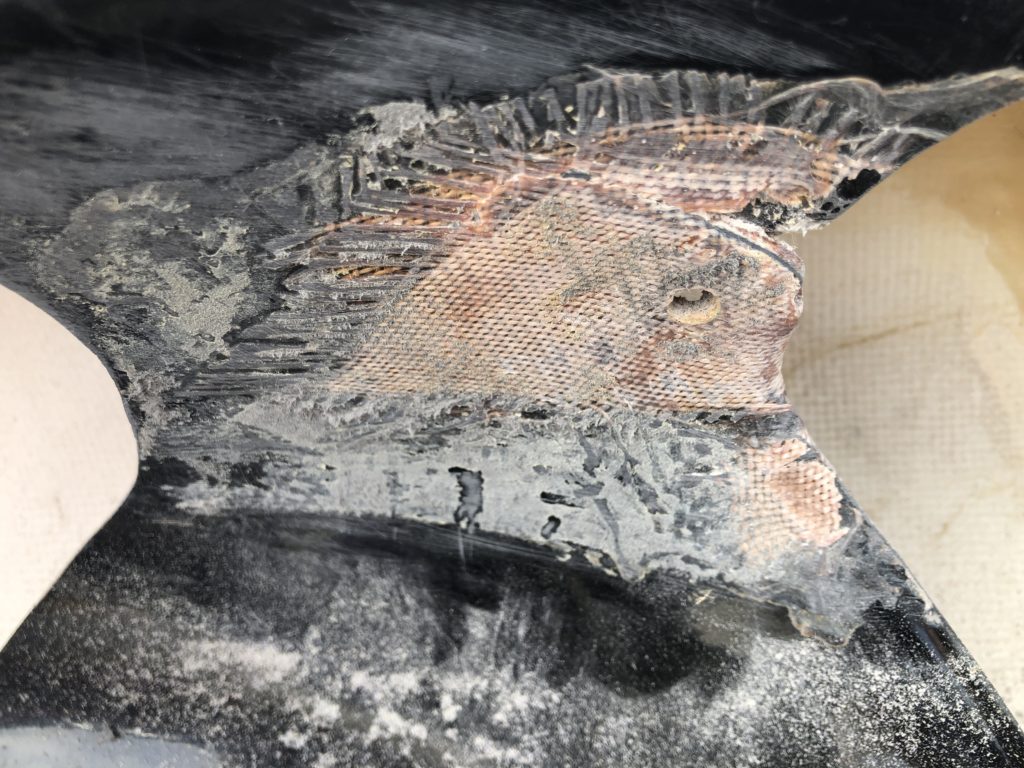
At this point I took off the backband and the rest of the foam padding. While it was a bit painful to see shreds of fiberglass coming off as well, it wasn’t too terrible, and in the end I could see the full extent of what appeared to be a previous attempt to repair a crack in the seat.
I got some tips from the “Kayak Doctor” the seller recommended to me; Jay Rose. He surmised fairly what I ended up seeing for myself: a previous repair that’d worn out, and would have to be re-done.
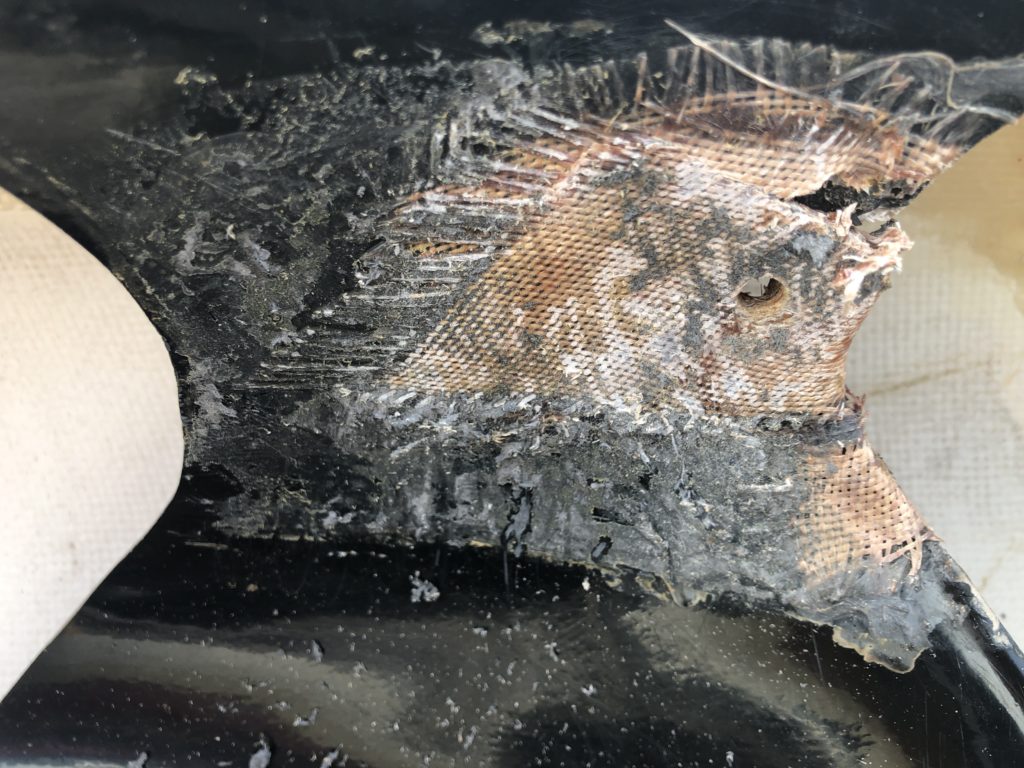
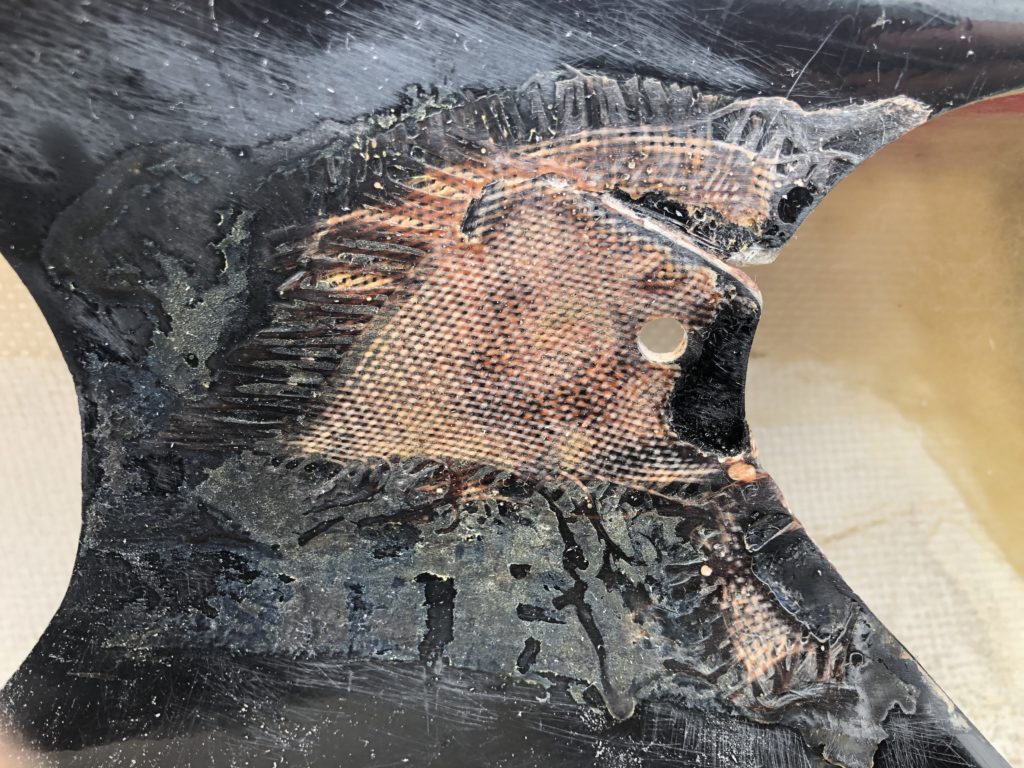
To really see what was going on though, I’d have to sand it down.
I went all the way down to the point where I could start to peel the old, dead, fiberglass off. As far as I could tell, this was fiberglass applied over gelcoat. It was never going to keep right over the long haul.
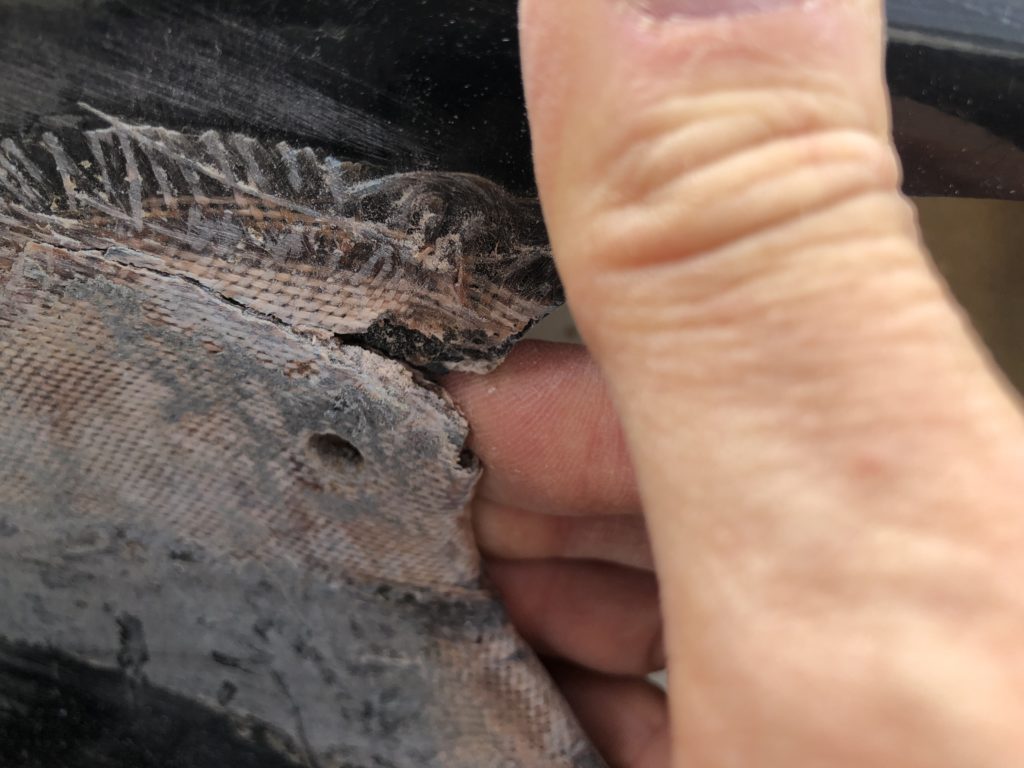
In fact, I was able to pry bits of fiberglass off the seat with a pocketknife, without further destroying the seat.
Then I went back to sanding.
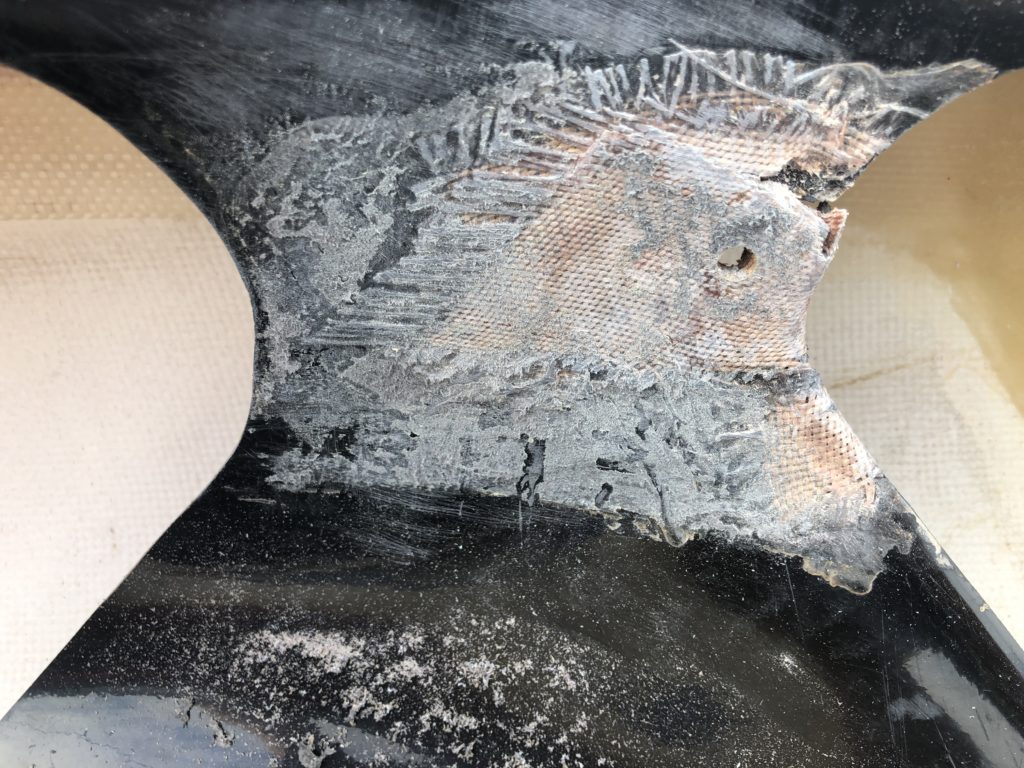
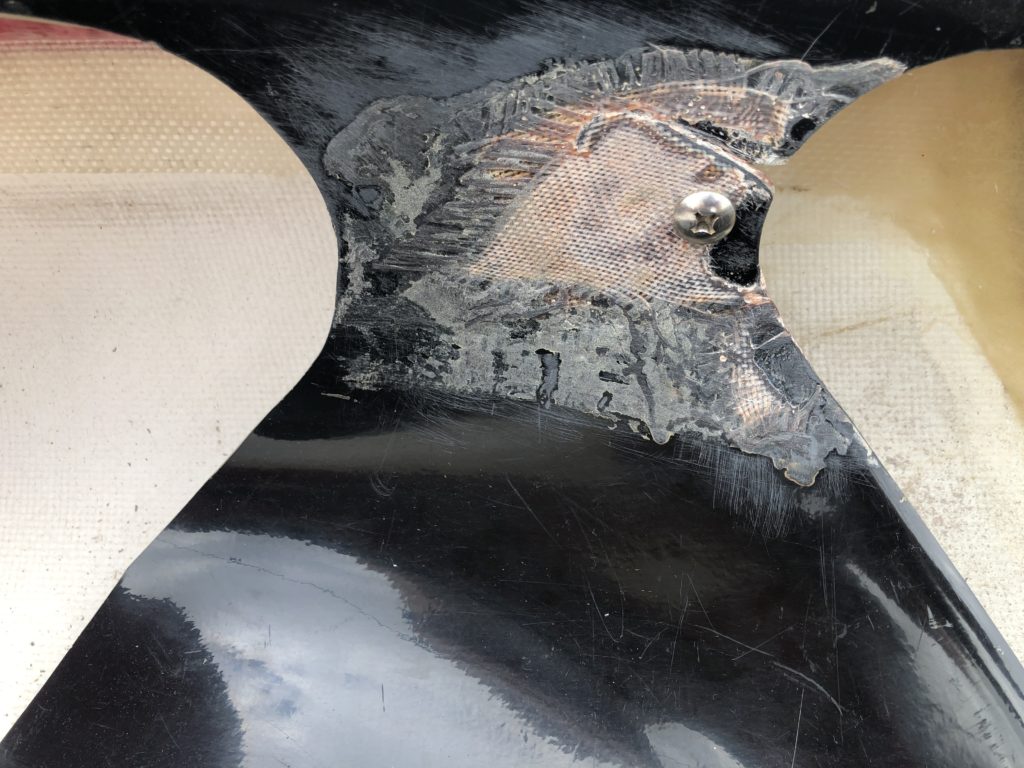
The good news was that my worst fears did not materialize: the crack was not leading to where the bolt for the backband lives. It’s still pretty nasty, about an inch and a quarter long, but it’s just a long fracture.
Some more sanding. In case you were wondering, this was all by hand.
Eventually, I started to see what looked like the seat. There’s still a bit of fiberglass on it, but it’s not around the edges. The full damage can be seen now, and to be honest, it doesn’t look that terrible anymore.
For now, I’ve sealed it back up, put the bolt back in without the backband attached. It will be a bit before can get to this.
[…] For reference, here’s the “before” picture from my previous post. […]
Wow, I had no idea that was there! Maybe a good thing for you as I would have pulled the seat off completely and just put a foam block in for my butt. You may not have been interested at that point, haha!
Wow, I had no idea that was there! Maybe a good thing for you as I would have pulled the seat off completely and just put a foam block in for my butt. You may not have been interested at that point, haha!
No worries. Jay down in Naples has been great with advice; once overnight temps are a little warmer Ima try and fix it.