This post will be very short – I only took one picture, and it came down to sand, scrape, sand, burr, and sand.
Here’s the finished work for the day – I spent about three hours scraping with a knife, sanding, and using a rotary tool with various bits to get as much of the old repair off as possible.
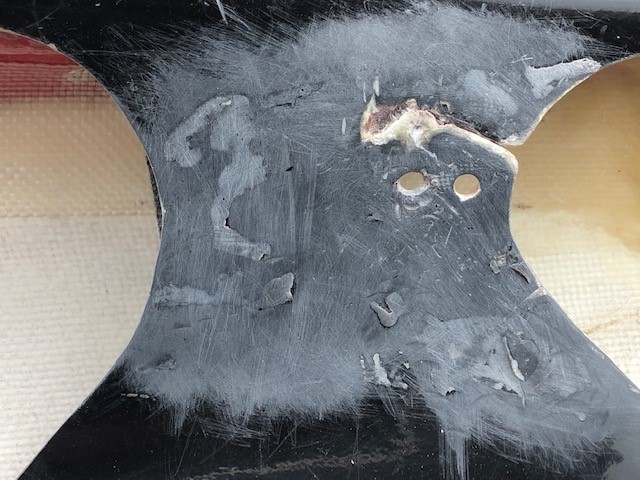
You may recall that most of this was covered with a fiberglass bandage, fiberglass which was drying and fraying at the edges. Using a folding knife, I was able to scrape flecks of that off, along with bigger chunks of residue. I also sanded a lot.
It was a see-saw of activity. On the one hand, I wanted to get things sanded smooth, but on the other hand, scoring and roughing things up made it easier to scrape off the old bandage.
Using the rotary tool, I made a couple of mistakes burring a bit into the fiberglass, but once I changed to some different bits, I just scoured remaining resin of.
I also sanded behind the crack, on the side facing the hull, but not nearly as efficiently. I also “flossed” a but in the crack to smooth that out.
I am a little puzzled by one of the holes – I think only one is factory, but the other is for the bolt holding the backband.
In other news, the epoxy I ordered arrived the same day and was waiting for me when I returned home. It may be getting too cold for it, but I expect the next steps are to clean this up a bit more before moving to the epoxy stage.
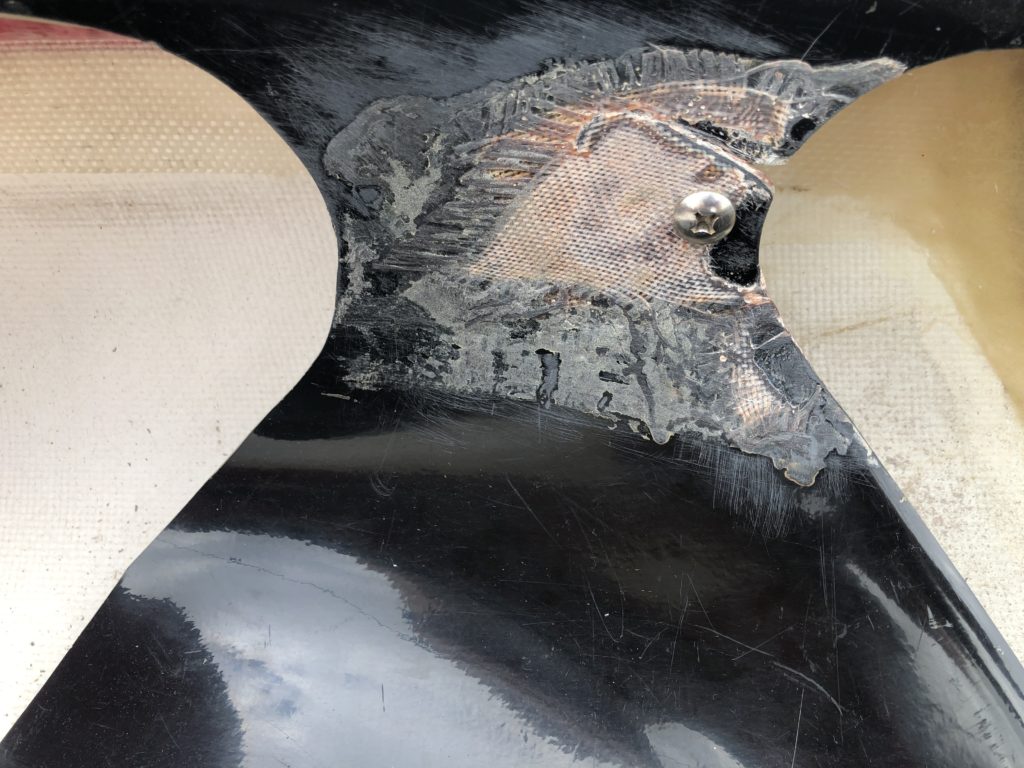
For reference, here’s the “before” picture from my previous post.
Comments