I’m happy yo say that the fiberglass seat repair is pretty well done. Aside from cleaning it up to look pretty, I think it’s as good as it’s going to get under my skills.
Many, many thanks to Jay Rose of Paddlesports of Naples for his helpful emails and top tips.
I even took the Pintail for a quick spin, and the boat is every bit as maneuverable as the Gemini, even though it’s a couple of feet longer. There are couple more things to do on it, but this job was the big job, and I’m more or less satisfied. It’s the most complex repair I’ve ever done, starting with some evaluation in Part 1 and some prep work in Part 2.
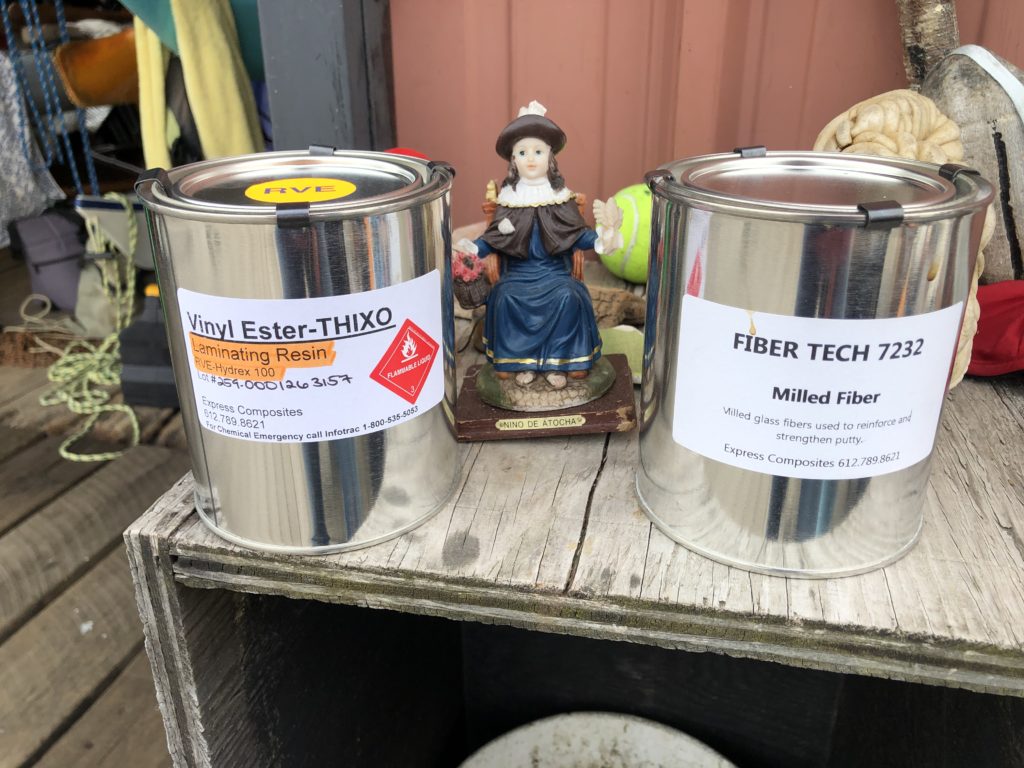
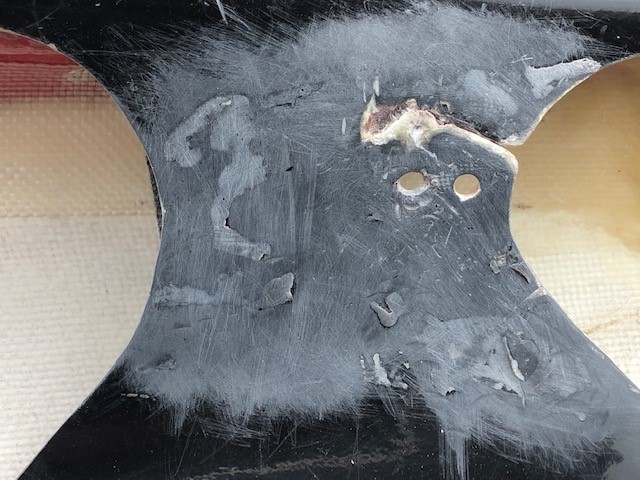
The first thing you need to know is that there is such a thing as milled fiberglass. I did not know this prior to undertaking this, but my repair mentor steered me to it. The right side of the seat pan had a sizable crack, and while the previous owner had used fiberglass strips to hold it together, that wasn’t sufficient – the gap was too wide, and flexed more than it should. It was also too wide to simply fill with epoxy. What I needed was something with the strength of fiberglass suspended in the epoxy itself.
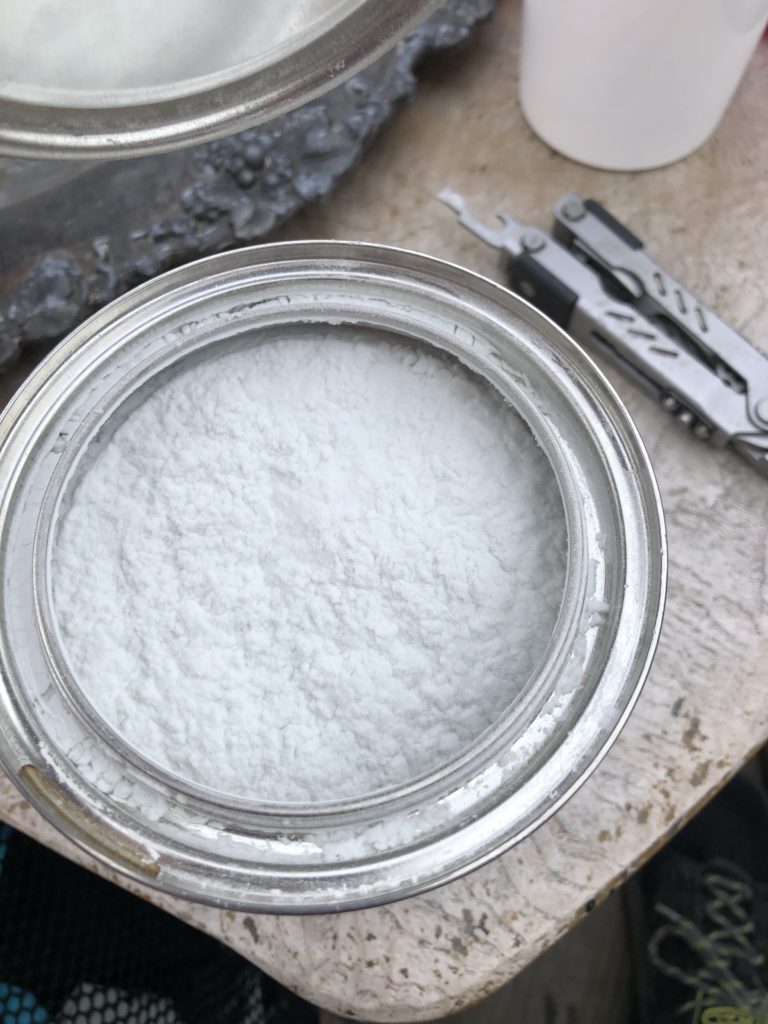
Milled fiberglass looks like flour. I had mixing directions for the epoxy from the manufacturer, but how much milled fiberglass to add? Honestly, I eyeballed it, adding small amounts until it looked more like a paste than glue.
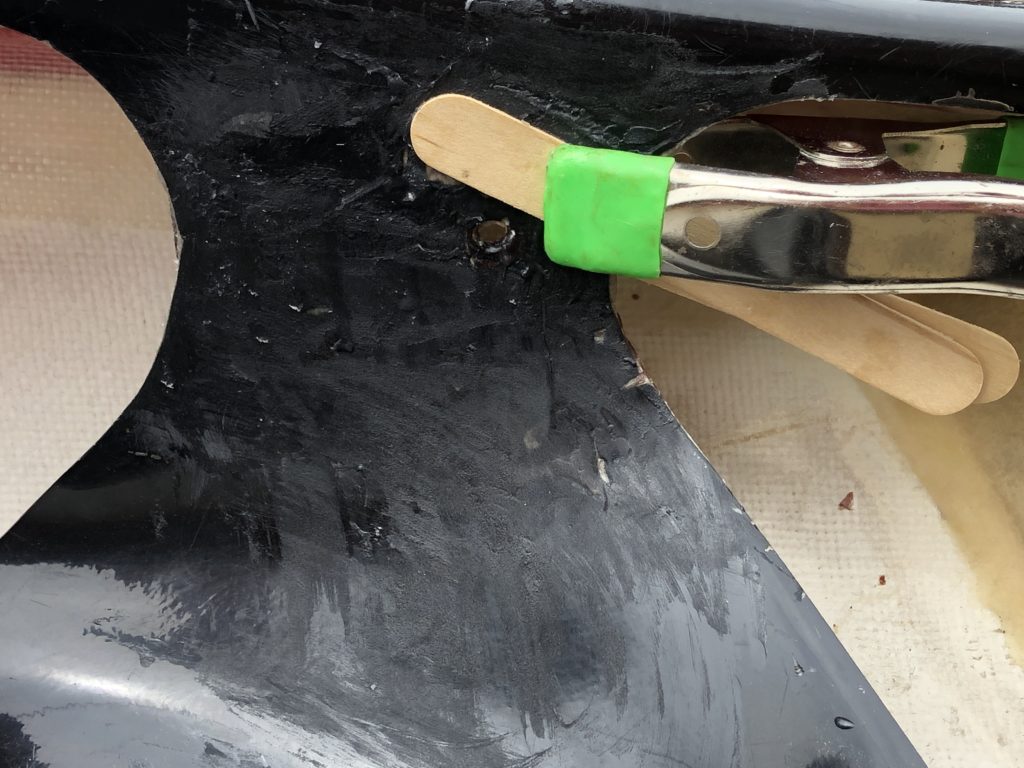
This first step was to fill in the crack with my milled fiberglass epoxy mix. Then I used a tongue depressor and a big clamp to try to hold the edges in line with each, so it didn’t cure misaligned. I’m not sure how much this was needed, but it didn’t hurt, and it didn’t seem misaligned at the end.
I let that cure, and honestly it was a few weeks before I got to it again. The repair seemed good, but I still wanted the confidence of a strip of fiberglass lapping the two pieces together. On its own, a strip of fiberglass wouldn’t prevent them slipping like a California fault line, but it could add to the load bearing capability of the epoxy mix.
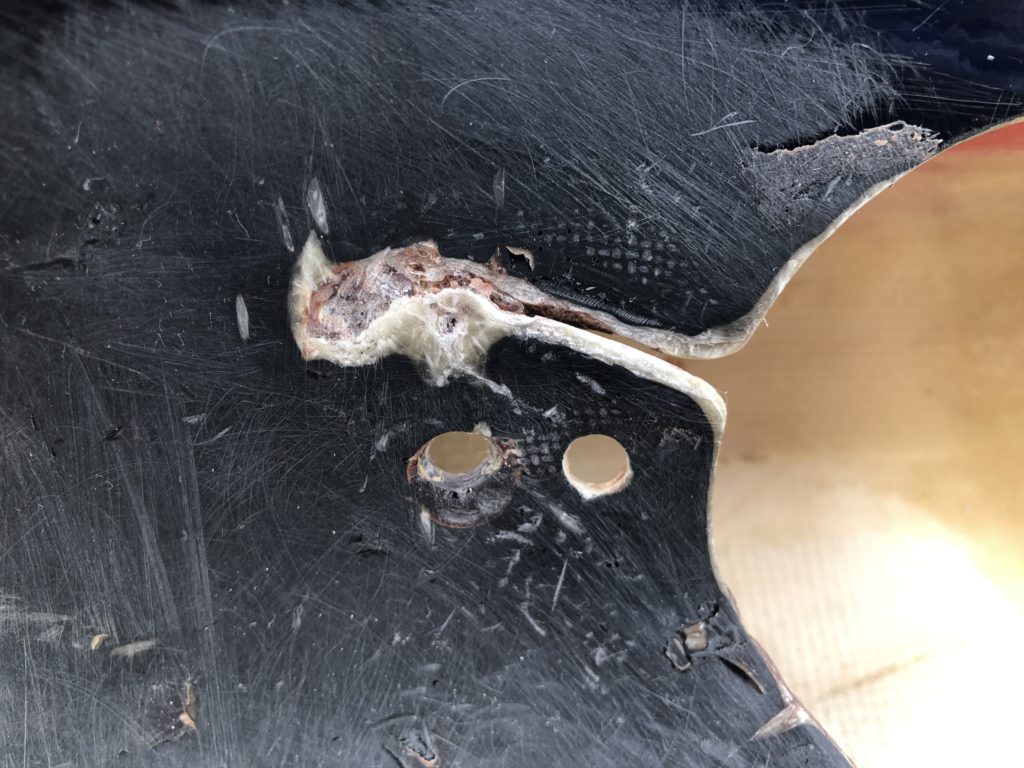
After one abortive attempt, what I ended up doing was trimming a piece to fold evenly along the curve. Then, I mixed some gel coat with black coloring and hardener, then doused the strip in it, using a flat wooden stick to squeegee it out repeatedly. Once it seemed full and not dripping, I covered it in wax paper and let that cure. When I came back, I got something like the following.
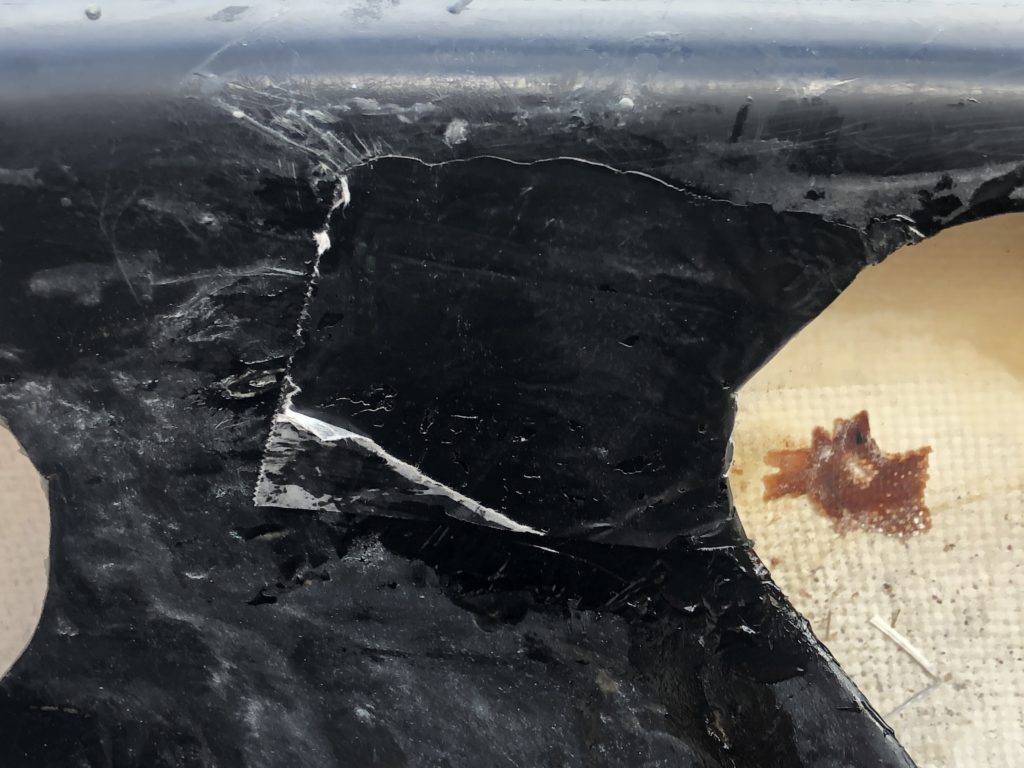
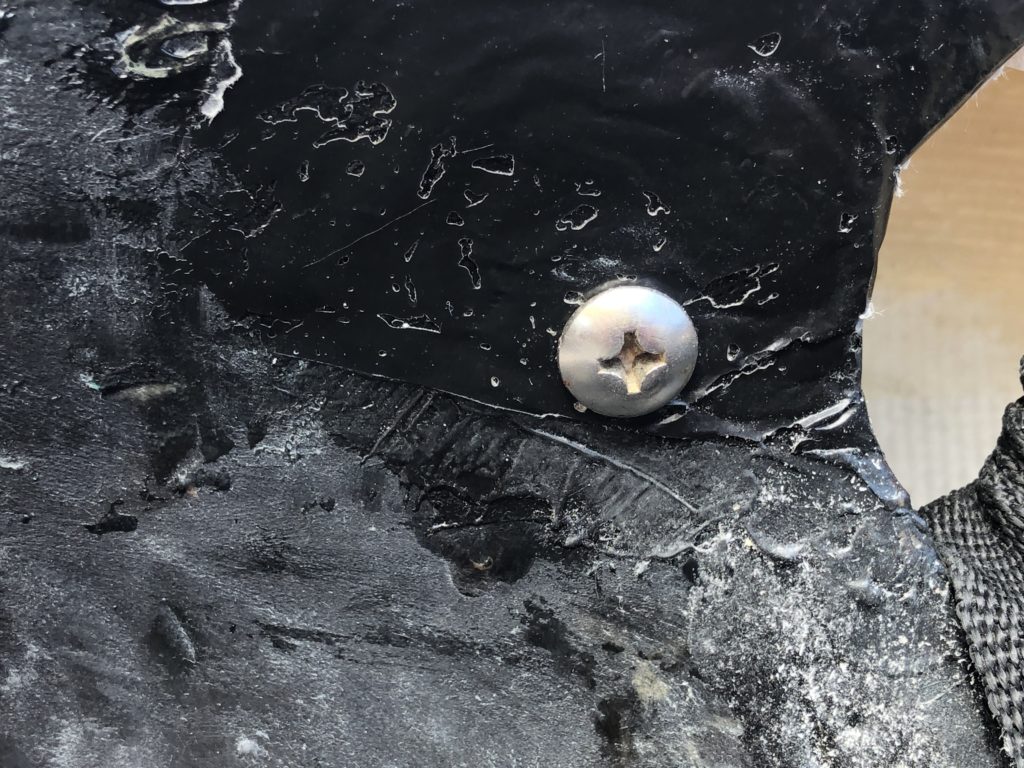
Nice clean lines where the wax paper lay flat. The only trick was to figure out where the backband bolt hole would go – I could feel a soft spot on the interior side, and with a little redneck measuring to estimate the center, I used a rotary tool to bore out the hole.
I’m happy to say it holds well. In previous testing I would press this way and that on the repair area, and as far as I could tell it didn’t flex any more or less than the good side.
Last Saturday – the day before storm Henri was expected to who up – I padded around for ten minutes and had a greata
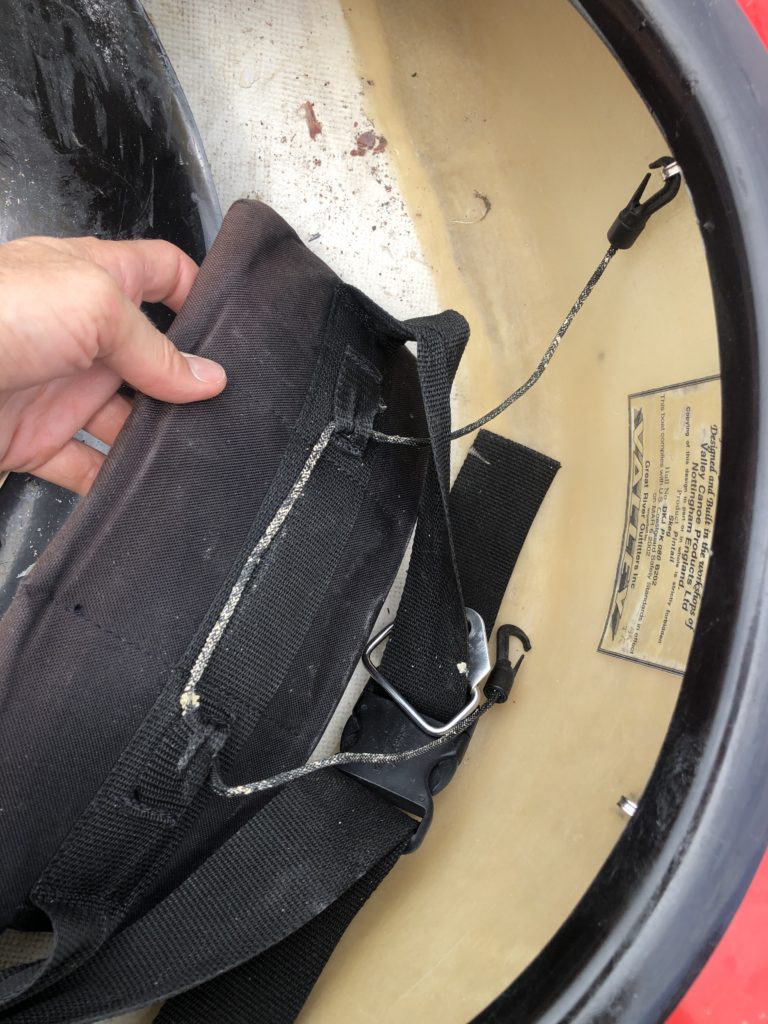
There is a bit more work to do. The backband is fine, but I want to replace a ratty old bungie that is meant to keep it from floating too far forward. I also need padding where my knees press against the coaming. Especially on the left, there’s a gap between the skeg controller box and the interior curve of the coaming, and my kneecap just randomly leans on one or the other.
Let’s hope this repair holds. I learned a ton, and in hindsight it’s not difficult, it just required some particular resources, and the time to do it. I was stymied on the latter by not getting to it until it was too cold from proper curing, and then being away most of this summer. Fingers crossed, I’ll get some paddling time in this boat this year.
Comments